


At the high school level, activities have to be meaningful and engaging at the same time. A card sorting activity can be a great way to achieve this goal.
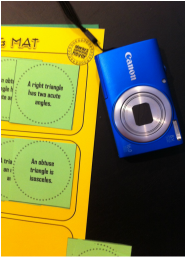
For some topics, a hands-on card sort can offer quite a bit more than a basic worksheet could. Don't worry; the prep work is minimal. A few minutes with the paper cutter can be more than worth it when you see your students really thinking critically and differentiating between categories. If you allow students to work with a partner and discuss, you can incorporate visual, auditory, and kinesthetic learning styles all into one activity. You may hear some great conversations as students determine how to sort each card. Card sorts are versatile - you can assign one as homework, set up a learning station, or do a full-class, partner, or group structure. Here are three different ways that you can implement a card sorting activity in your high school math classroom. I've listed three great ways to use card sorts, and each is great in different situations, which I will describe, but my favorite is the pocket style (#2). This setup is amazing for maximizing all the benefits of a card sort. They get the critical thinking going with a variety of information, but can also be re-used as a study guide later on. Everything, including the answer key, fits right inside the pocket for re-working or studying later on. You can even layer the pockets to make sub-groups! I show this tip in the video (link below). 1. Station or Group
Try groups of 2 or 3 students. Set up your card sort at the table. Have students work together to sort the cards into the correct category.
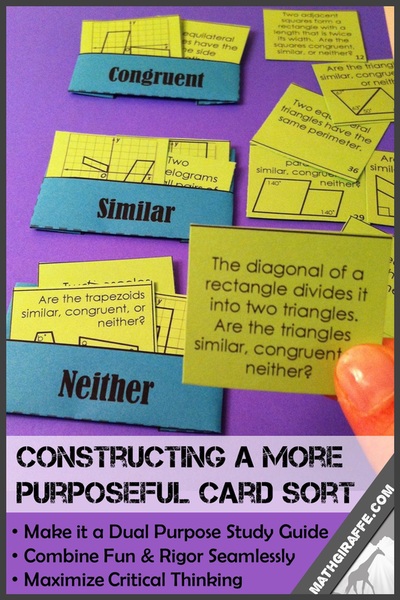
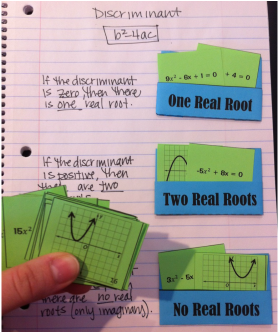
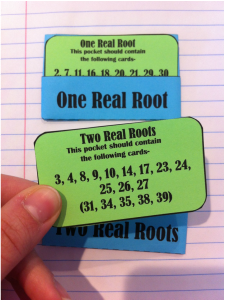
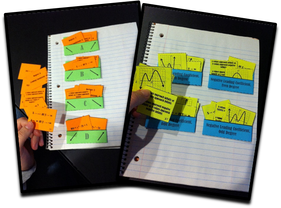
2. Interactive Notebook: Sorting Pockets
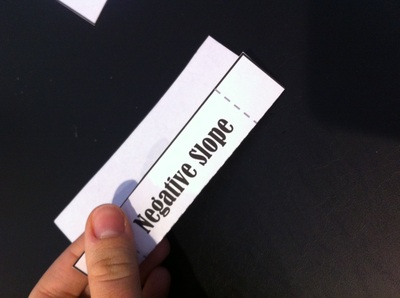
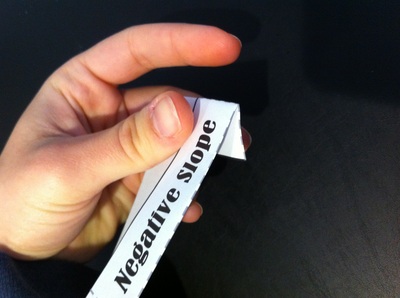
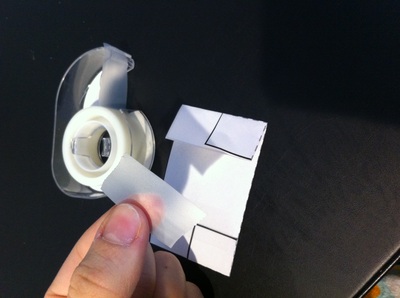
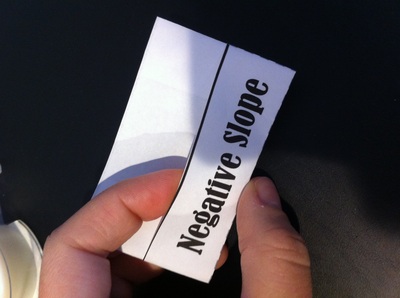
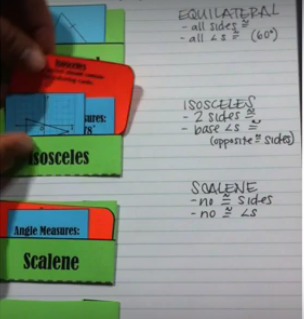
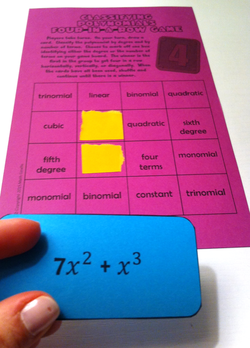
Card sorting activities are a great addition to your interactive notebook. You can make a very simple "quick-fold pocket" out of a rectangular paper. Students can then sort cards directly into their notebook. If you prefer not to type and print these, students can just write labels themselves, cut the rectangles, and make the pockets in a couple minutes. Limit yourself to three or four categories for the best card sorting results.
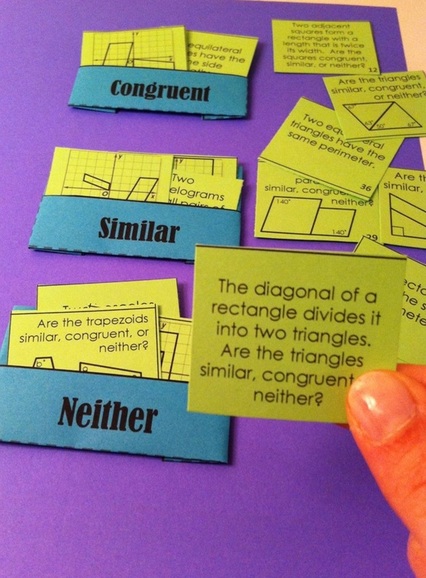
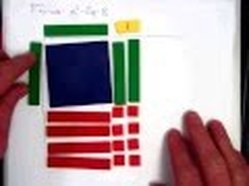
Be sure to include as much variety in the given information as possible. In the Congruent vs. Similar sort, I use written explanations about all different situations to get students thinking (perimeters, diagonals, lengths, etc.). I also include diagrams with missing information. Students must use properties to find some angle measures before they can even determine whether the figures are similar or congruent. I also include transformed figures on the coordinate plane. These are amazing for critical thinking if you really get creative with your input information on each card.
3. Whole Class Activity
Another option is to have your entire class work together to sort a set of cards. This is easiest for you to prep.
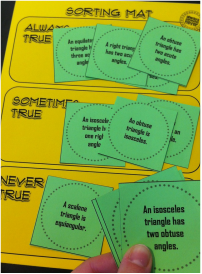
Hand out one card to each student. Write the labels for your categories on the board. Have them come up one at a time and read the card aloud, then stick it to the board in the appropriate category. Give the entire class a chance to think and dispute. Offer some challenging cards and get a discussion going. An "Always, Sometimes, Never" card sort works really well for a full-class card sort. Get your students thinking critically. Click here to purchase "Always, Sometimes, Never" Card sets to use. Encourage students to offer examples and counterexamples. Have them test cases and prove why they chose the category that they did. 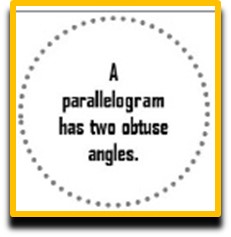
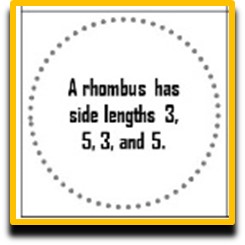


"Always, Sometimes, or Never True" ?? (Click images for link)
To Read Next:

29 Comments
Don't Spend Your Sunday Hunting for Lesson Materials
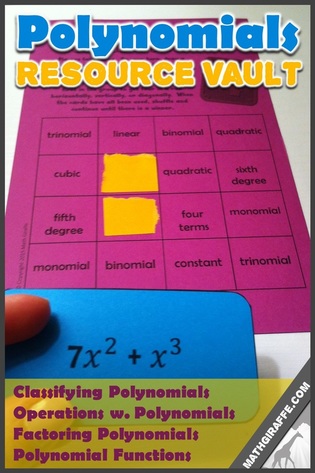
Classifying Polynomials
Adding and Subtracting Polynomials
Multiplying Polynomials
Dividing Polynomials
Factoring Polynomials
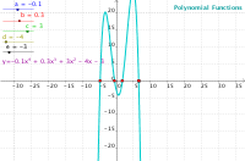
Polynomial Functions
To Read Next:


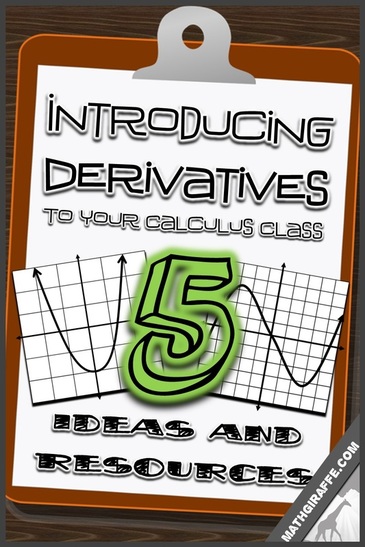
1/12/2015 6 Comments Introducing Derivatives
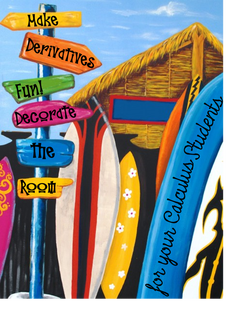
Let your Students be Surfers for the day.
Get the class excited. They are at the age where teachers do not bother to do this for them much anymore. It will not take you much effort to make this really memorable for them, so go big!!
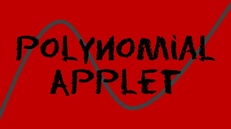
When you are ready to jump into the lesson, start with a large graph. A quadratic function works well. Draw or find a graph of a parabola that opens downward, since that is the easiest to compare to a wave. Demonstrate how the surfboard can travel along the curve. Explain that its slope at any point is the derivative of the function at that point. Resource #1: "Function Surfer" Applet for Derivatives
Project this "Function Surfer" applet on the board or let students explore in pairs if you have the technology for everyone. This applet is great for them to play with while they explore the surfing analogy.
Resource #2: Printable Surfer Dude
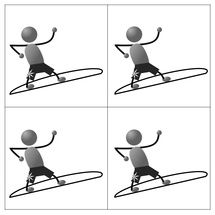
Here is a little surfer man I put together for students to use. Ideally, you want to print this on a transparency so that he can "ride" along the graphs on worksheets and students can still see the curve. If you cannot do that, just print on regular paper and have students cut along the straight line at the bottom of the surfboard. Click on the image to download the PDF. Four surfer dudes print per page.
These guys are great to use along with Resource #5 below as the "straightedge" needed in the inquiry activity.
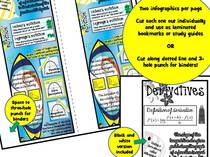
Resource #3: Derivative Infographic
Connect With Physics
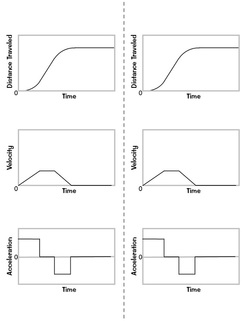
If all your students happen to be taking Physics, try collaborating with the Physics teacher to make the connections. If not, just incorporate it in your own classroom. I think the best way for students to really understand the relationship between each derivative and the rate of change is to work with position, velocity, and acceleration.
Show a position graph and explain what it represents. Write "position" on the board. Ask students to come up with a word for how quickly position changes. Write "velocity/speed" below the word "position." If they need help, act it out. Walk slowly, then fast across the room. Then ask "Ok, is there a word for how fast the velocity changes? Have them think about slowing down and speeding up when driving. Write "acceleration" below "velocity" on the board. Display or hand out graphs for position, velocity, and acceleration. You can even talk about "jerk" as an opportunity to go one more level to incorporate a third derivative. The key here is getting students talking out loud or writing in complete sentences. Try to get a real discussion going. Encourage students to clearly verbalize the relationships. Have them look at the position graph and talk about it. You need them to speak out loud and hear classmates say plenty of statements like: - "The car must be going faster here because the position is changing more quickly than it was." - "When the velocity starts increasing more quickly, this means that the acceleration is increasing." - "The car is driving at a steady rate (constant velocity) when the position graph is linear. The slope is constant, so the position is changing at a constant rate." - "The car is stopped when the slope is zero. The position is constant." Have students take time to really look in-depth at each graph and point to the different intervals and explain out loud. Make connections by labeling the position graph f(x), the velocity graph f'(x), and the acceleration graph f''(x). Start using the words "first derivative" and "second derivative" to introduce the new vocabulary. Resource #4: Position, Velocity, and Acceleration Graphs
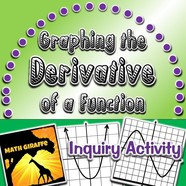
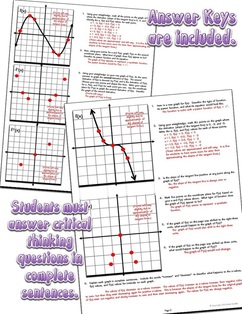
Resource #5: Inquiry Activity: Graphing the Derivative of a Function
I hope your students love the derivative lessons! Enjoy!!
To Read NExt:

|
Archives
December 2023
Click to set custom HTML
|


 RSS Feed