
I am completely passionate about using guided inquiry in math classes! However, I know that it takes time to re-work the typical lessons that you have been using into a more discovery-friendly format. I've gotten questions about how to actually set up an inquiry lesson. Do not fall into the trap of believing that inquiry has to be completely aimless and open-ended. There is a middle ground where you can implement structured, organized framework for consistent guided inquiry.
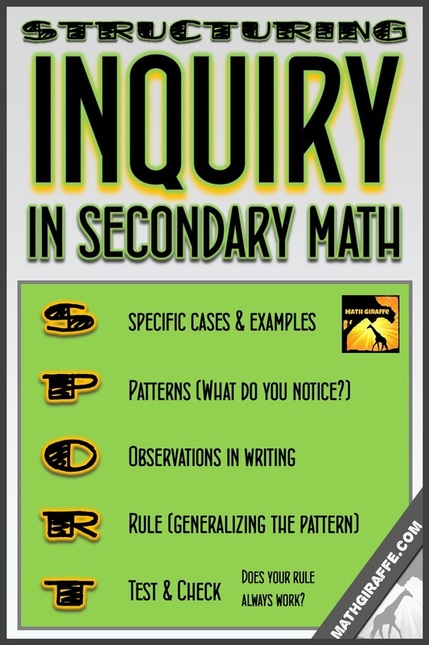
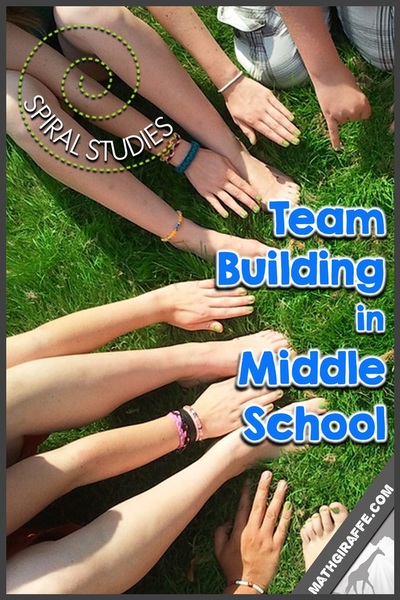
Personally, I do not like unstructured chaos, so this modified inquiry style is what works well for me. Many people find it easy to allow young students to explore, but up in middle school and high school, incorporating inquiry-based learning can be pretty challenging as far as lesson planning. However, it is just as important as ever that at this age, students discover properties for themselves. As the teacher, it's not as hard as you may think to direct this exploration. I developed a "SPORT" method that I like to follow. Here is a specific example of how a class period flows using the steps outlined above (feel free to print the main graphic at the top for reference, or pin it to come back to). Sample Lesson: Triangle Inequality Theorem (Grades 7-10) Intro: Start by saying "Ok, we are working with triangles again today, so quickly before we start, I'm going to need the desks in a triangle arrangement. Please move the desks quickly - Let's do 14 desks in a straight line across the back of the room, facing the board, and then just slide the rest in front to make the rest of the triangle." Students will begin moving the desks around. (I used 14 as the number for the straight row, but you should use a number that is slightly more than half of the number of desks in your classroom for this to work.) They will start out, then quickly realize that it is impossible to create this triangle. Try to sit back and watch this unfold. You will likely hear some students start trying to convince others that it is impossible. Listen carefully to their explanations. Be ready for them to engage you in the discussion and complain to you about this task once they realize that you are "tricking" them. Once the class has discovered that the desks cannot possibly form a triangle this way, make a quick statement about the fact that it seems that some triangles (with certain side lengths) cannot be constructed. Then lead into the discovery portion of the lesson by distributing manipulatives. Manipulatives: I have seen similar activities done with toothpicks, but I prefer markers. If your students have the kind with the caps that snap onto the end, these are perfect. They will attach to make rigid sides for the triangles. Each student or pair will need about 12. 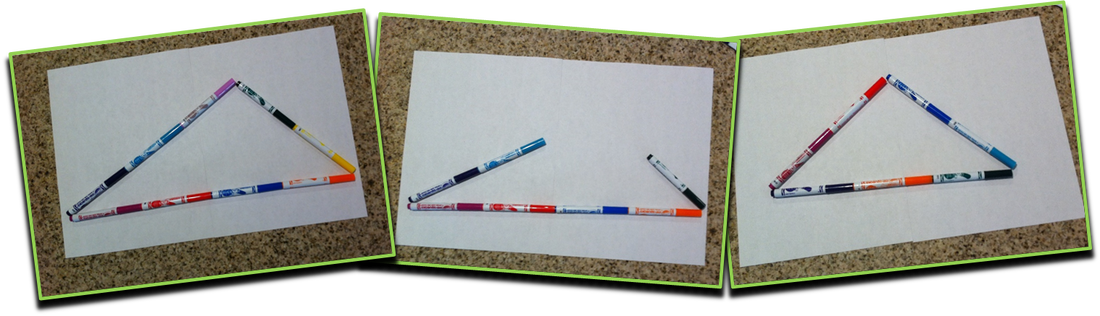
Once your students have been trained to follow the "SPORT" structure, they will have no problem getting started. Direct them to record their findings from each triangle or non-triangle in a chart, then look for patterns after they have plenty of examples.
S - Students come up with ten examples of triangles and record the side lengths (from least to greatest). Then, they do the same for ten non-triangles. They can record these in a chart. P - After reviewing the examples, some students will already have an idea of what's going on. Some may need to analyze the chart more closely to look for patterns. Depending on the grade level, sometimes it is nice to have hint cards to hand out for those who are stuck. Encourage the students to find the patterns and not give up. They sometimes need to be trained not to ask for your help (and you may need to train yourself to step back). O - Always require students to write their observations out in complete sentences. They will get used to this. For this particular lesson, sentences may look like this:
Note that these sentences are not perfect, but this is what the kids usually come up with. They are noticing the reasoning behind the property or theorem. As you walk around, encourage kids to improve their sentences before writing their official rule. In this case, a really great observation sentence would look like this:
R - Students will next develop a rule that should come close the official definition for the Theorem. When groups get stuck here, I encourage them to try writing in an "if ___, then ___" format. Sometimes using a conditional structure helps them to get their rule into writing. T - Once students or teams have a rule written, they must test and revise it. For example, if a student wrote a rule stating that the length of the longest side of a triangle must not be greater than the sum of the lengths of the two short sides, then they would have to adapt it. They would need to include in their rule that the sum of the lengths of the two short sides also cannot be EQUAL to the length of the third side.
Follow up the discovery portion of the lesson with practice. Have students apply and use the theorem. They will understand it much more deeply after working in a hands-on way and observing the properties.
Take some time to look at a few other key lessons, and see if you can start by adjusting just one lesson per week to follow a guided inquiry format. Take the time with your classes to go over the expectations. They will slowly get used to it and start depending on you less. It will take a few days before they will accept this. Don't give up! The kids are so used to asking things like "What are we supposed to notice?" and "Is this right?" and it can be so hard to feel like you are ignoring them. I had to resist the temptation to give in after a few "You're supposed to help us!" complaints. But once I overcame the guilt and let them struggle through a few lessons, I learned how to teach effectively this way, and the kids learned how to LEARN effectively this way. It's amazing what this style did for my classes. Once you train your students to follow this pattern, they will take off and be able to discover plenty of theorems and properties on their own. You will just have to supply the tasks and materials to kick off each lesson, and they will know the expectations and be able to take over from there. Check out some other specific examples of teaching with inquiry using the links below:
Related Posts:


Subscribe for More:
6 Comments
2/12/2015 6 Comments Discovery: Surface Area
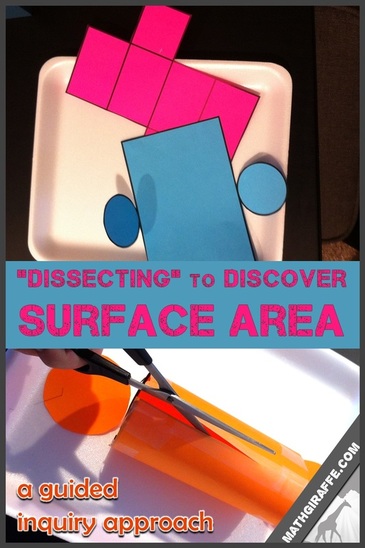
To make your lesson on surface area fun AND help students really understand the concept, try adding a special "dissection lab" day into your middle school geometry unit.
Students really need to get hands-on with nets of 3d figures in order to understand the concepts behind the formulas for surface area. I think it is a huge mistake to just present students with the formulas and teach them how to plug in. Obviously, the formulas can be useful, but if students develop the formulas themselves, they can then reproduce them at any time without memorizing. They also actually understand the process and why it works. Print nets on colored paper and tape them together ahead of time. When you start class, set up like a science lab and tell students that their job is to "dissect" the specimen in front of them and then find the total area of all of the "skin." Students will need a ruler and scissors. Here are some additional items you can put out to make it a little more fun (optional): - foam trays - tweezers - small scissors - push pins Start by laying out the assembled 3d shapes on trays. Lay out the dissection tools, and instruction & recording sheets (see link below). Students start by taking measurements before they are allowed to cut. 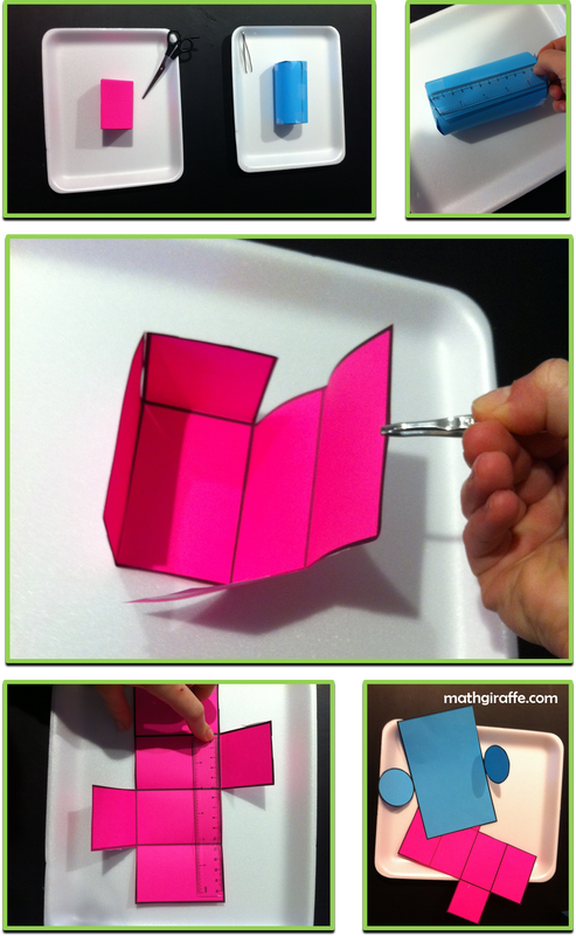
Try a simple polyhedron first (a cube or rectangular prism). Once students take measurements, have them record the types of faces and how many there are of each. Allow them to find the total surface area on their particular figure, then develop a formula for the surface area of ANY rectangular prism/cube.
When you introduce the cylinder, give the same prompt and structure, but try to avoid giving hints. Once students "unroll" the cylinder and lay it flat, allow them to figure out that the length of the rectangle is equal to the circumference of the circle. This hands-on exploration will activate their brains and help them make the connections! 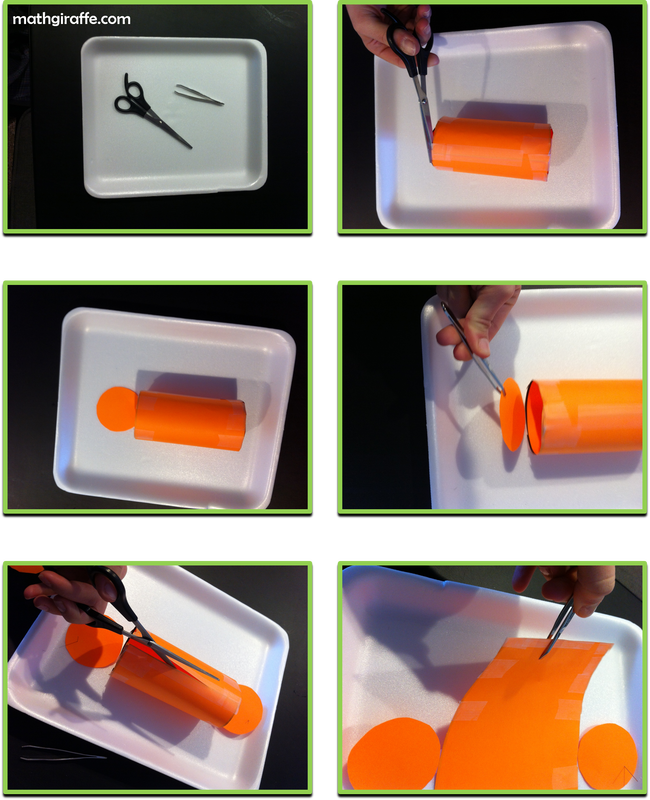
After opening up the "specimen," students take detailed measurements of all the faces in the net. They calculate the surface area, then develop a formula.
Here is the net I use - Download Net (free) You can also buy worksheets to guide your students through the cylinder dissection activity. Click the image below for more information. 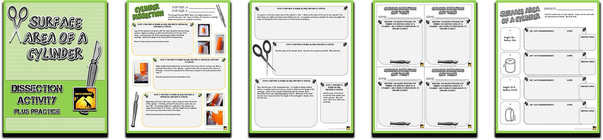

Enter your email in the sidebar to subscribe & receive updates and free resources!
You May Also Like...
 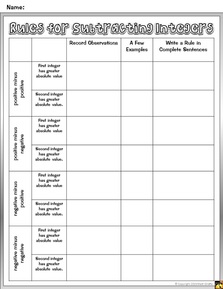 This post has been updated! Click here for details on the lesson, a video, and free downloadable rule charts on adding and subtracting integers. |
Archives
December 2023
Click to set custom HTML
|
 RSS Feed