
UPDATED: "Weekly Mathematician" has grown and leveled up... Enjoy!
One of my favorite college courses as a math major was History of Math. Which completely shocked me!
I was surprised that I enjoyed it, because I have never liked history. I realized that I loved taking a peek into all different areas of math. It's really fun to see how each new concept was discovered and developed. Since then, I have always wanted to incorporate just a small pinch of math history into my classes. The problem was always the time and effort to implement it. I've finally pulled together a super quick and easy way to introduce the students to a bunch of mathematicians and take a quick look at their contributions without taking more than 5 minutes per week.
Then, at the end of each semester, your students can do the crossword puzzle to review all the mathematicians that were covered!
The crossword puzzles that include all the mathematicians would be a perfect handout for a substitute day towards the end of the semester, or as a change of pace before or after finals or winter break. 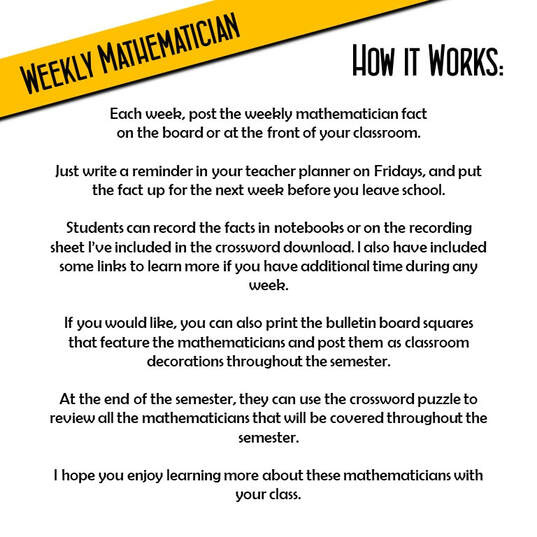
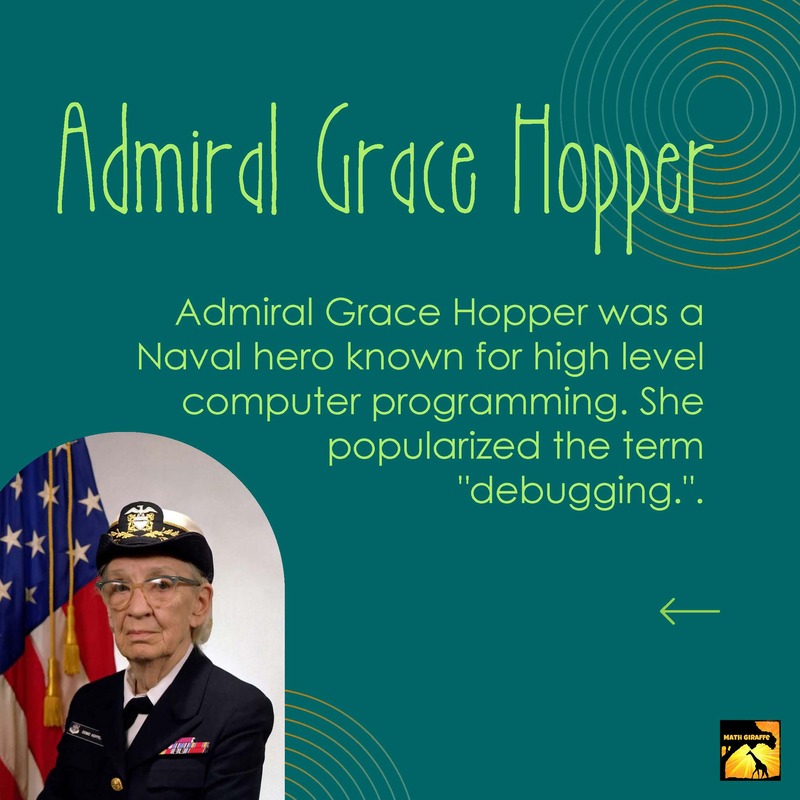
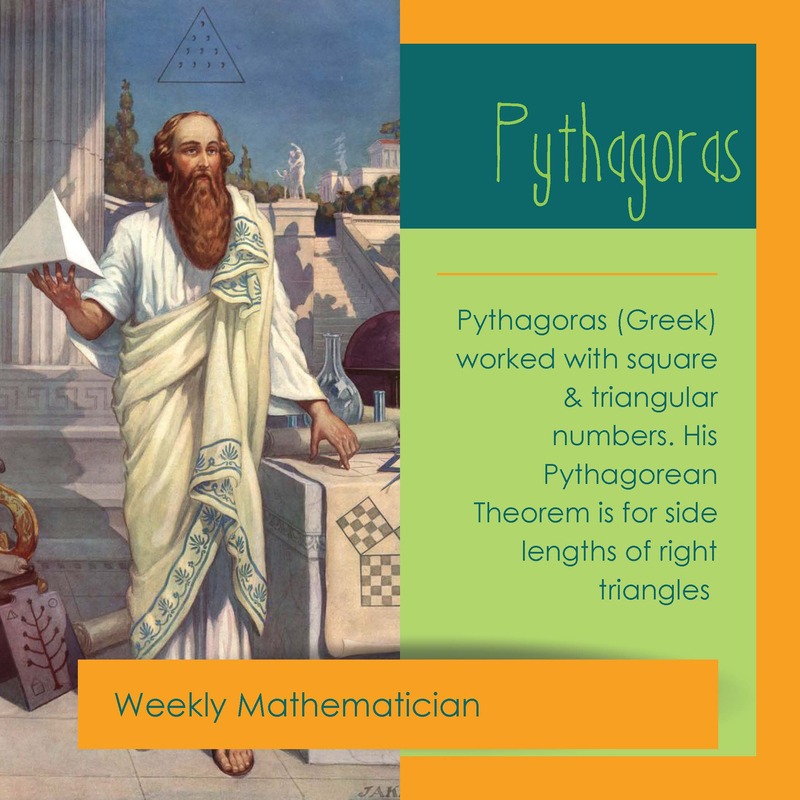
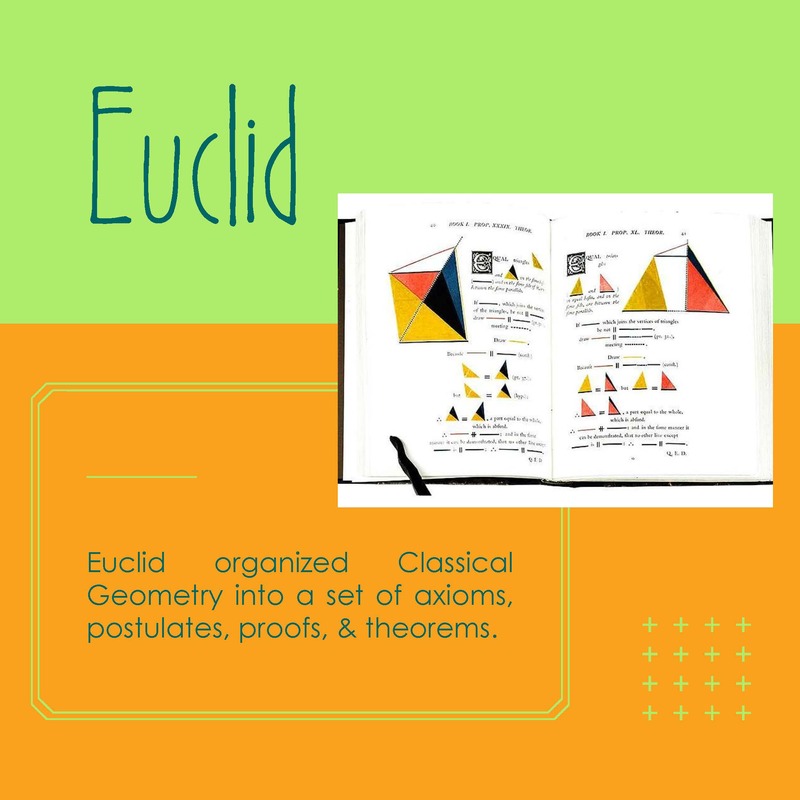
The kit for doing a weekly mathematician in your own classroom also includes artistic bulletin board squares like the ones shown above for all 38 mathematicians. You can print these to display like posters in your classroom or hang them to decorate your door.
Get those materials to cover all 38 mathematicians here. 
You'll love these ones too! -
33 Comments
Preferences
Cultural Differences
Gender
Sousa and Tomlinson outline tons of other great comparisons and examples in the book. There are a lot of great specific situations that got me really thinking about student learning profiles.
The book had an image representing the male and female brains that showed which areas were activated during language processing. It was fascinating to see that the male and female brains physically respond differently to the same input. It's really important to think about the way you differentiate your instruction based on preferences, culture, and gender. The authors recommend videotaping yourself to review your own teaching style. Since most teachers teach the way they learn themselves, you may not realize you are missing certain groups. Are you offering help to those few boys who may never ask for it? Are you assuming that the quiet student is slacking off by not contributing to the class discussion, when really it may be respectful behavior from his/her point of view? To help start to identify student learning styles, I put together a quick Learning Style Profile sheet for the kids to fill out. 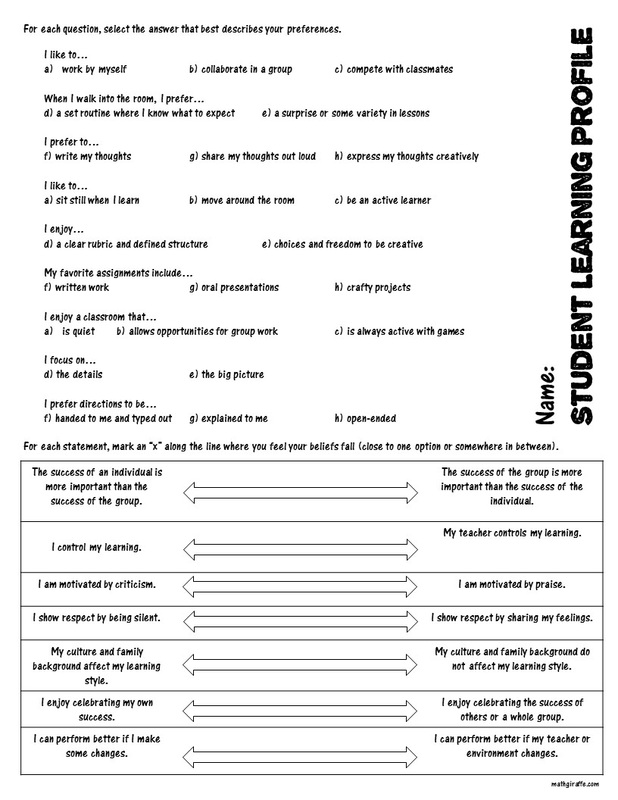
Download the Student Learning Profile Sheet here.
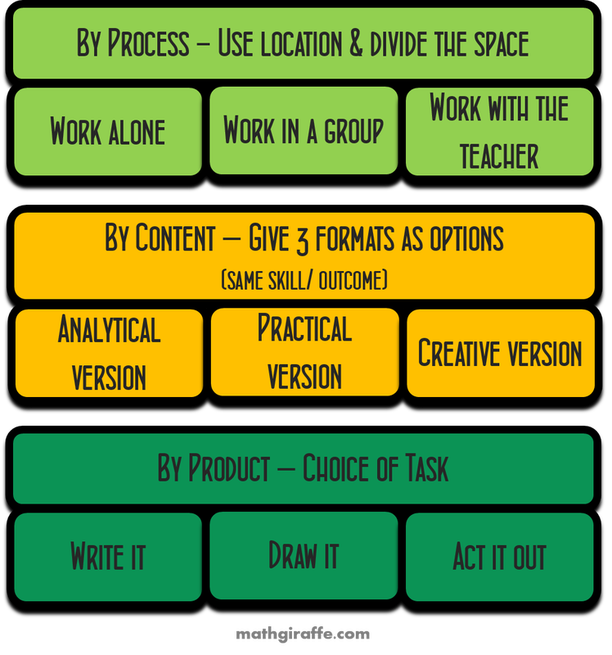
The way I structured this is to lead smoothly into differentiating using these preferences. If your kids do this worksheet, you will get an idea of each learning style in your classroom, but you can also use the information for grouping. Use the students' responses to group them this way:
Each student will be an A, B, or C:
Each will also identify themselves as either D or E:
The survey will also identify each student as F, G, or H:
Now, you can group your students to work with others that have similar learning styles, OR you can mix up some great groups that have a variety of learning profiles.
Some Keys to Differentiating by Learning Styles:
These are the main takeaways that I want to work on from this chapter:
You may also like...

First, the lesson material
What About the Structure?
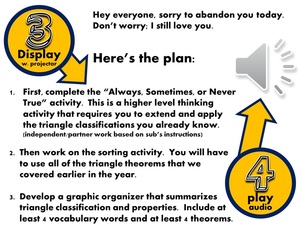
Consider pre-recording directions in your own voice for your students. This serves two purposes: First, the class will know that the lesson directions are coming from you and they will feel accountable to you. Second, you will be confident that every student in every class period heard the same thing. You can hold everyone accountable. There will be no doubt if students claim that something was unclear or they did not know they had to do it.
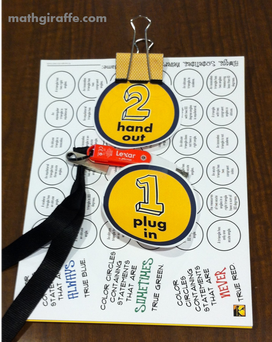
Note: If you have not done it, recording audio is really easy. Search your computer for a "voice recorder" app, and just hit "record." When you are done with your message to your kids, just "save as" an audio file on your desktop, and you can insert it into your display page in word or power point similar to inserting an image. Keep it really simple. Make a single slide with directions in both written and recorded audio format. Put that single file onto a flash drive. Then lay it out with the papers and a flash drive on your desk.:
The example in the picture is one of my favorite sub plans for high school Geometry. It starts with an "Always, Sometimes, Never" coloring challenge on triangles, which reviews triangle classifications in a deeper-thinking way. Then students do a triangle card sort that requires them to use all the different tools, theorems, and properties they know about triangles.
Both of these are self-checking. The coloring one ends up in a pattern, so kids can see if they slipped up at the end. For the card sort, the sub hands out the numbered "answer cards" at the end, and the students verify that they put each card in the correct pocket. This means that I have no grading to do when I come back! I also like to use self-checking "GridWords" puzzles (Factoring ones for Algebra or Prime Factorization ones for middle school). Other "Tools" to include in your Sub Kit
Tips from the Experts
It really works! I get notes from subs that are full of praise for the students and they often have difficulty choosing the most perfect class." Read more of Kacie's great tips on her blog, Managing and Motivating Math Minds.
What do you have in YOUR emergency sub toolbox? Leave a comment below to share!
You may also like...

Subscribe to my Math Giraffe email list (freebies, updates, tips, and more!)
|
Archives
December 2023
Click to set custom HTML
|


 RSS Feed