|
Calculators in Math Class: Tips for Storing & Managing Your Classroom Set

Tips for class set management (TIP #5 is my favorite!)
1. Use an engraving tool instead of stickers - Stickers can be removed and get worn out. Creating serial numbers with engraving tools work better in the long run. 
2. Assign numbers to the calculator and student - Once your calculators have ID’s, assign each one to a student in a class. It will be their calculator for the year.
Then, by number, establish responsibility with the student through a written contract - Sometimes students just aren’t aware of responsibility. They often think things are at their disposal without any question. Having them sign a contract of responsibility will help make their accountability real. 
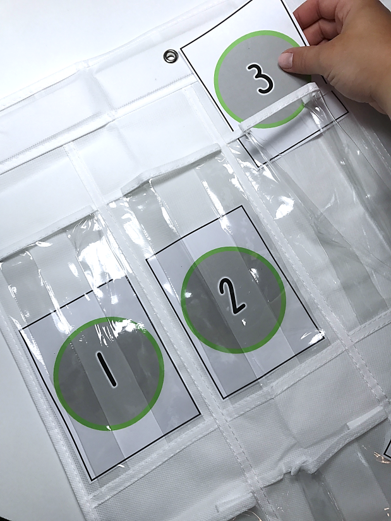
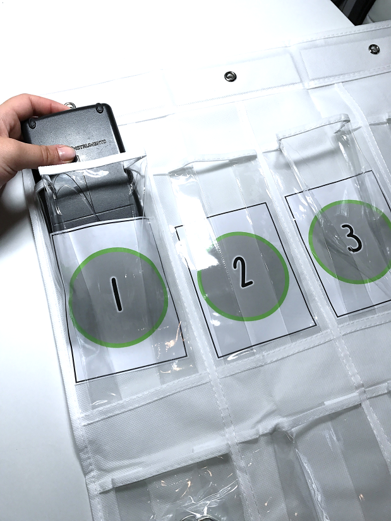
3. Store them in a safe space - Have a bin or even a clear shoe storage door rack to keep them in. Have the student put them back in the pocket as soon as they are done. It’s easy to keep track of what calculator is missing. Lock them all up at the end of the day or if you’re away from your classroom.

Click the image below to download a set of printable number cards to tuck inside the pockets.
4. Count after each class - Instead of counting at the end of the day, count them at the end of each class. It’s easier than running around to find each period’s “student #14” at the end of the day to see whose is missing.
5. Ask for batteries as school supplies - Batteries are expensive. It’s not a bad idea to have students contribute to the batteries for the year.
Knowing when to use calculators in the classroom is also key.
Students are almost always more excited about lessons when some sort of technology is involved, including calculators. That’s why they can be a powerful motivator in the classroom. Not only do students engage more readily, it helps them visualize concepts and ideas better as well. Set aside specific class time to learn how to use the new tools that you are sharing with them. Be sure your students walk through the features of the calculator. Don't assume they've all used this model before! ● Scientific calculators are introduced in lower level math - Include a lesson where you show your students how to use this calculator. Check out these lesson plan ideas from the Virginia Mathematics Standards of Learning. ● Graphing calculators are used for higher level classes - Higher math will often require and benefit from the use of graphing calculators. However, they are only helpful if you know how to use them. That’s why it’s important to touch on the basics of how to use one. Bright Hub Education has some good lesson plans you can build upon to do just that. What about having students use them for tests? One of the first things you’ll hear a student say in a class when you won’t let them use a calculator is, “Well, in the real world I’ll always have a calculator to use. So why can’t I use one now?” And not only is that not exactly true, it’s no excuse or replacement for knowing how to do it on your own. That being said, it’s not a bad idea to allow a calculator for certain parts of the exam. Because in real world applications and entry exams, a lot of time calculators are allowed. (Yes, they always have their phones – but sometimes we want to test a thinking process or have students prove their grasp of a concept and not allow them to use a resource to help during the assessment process.) 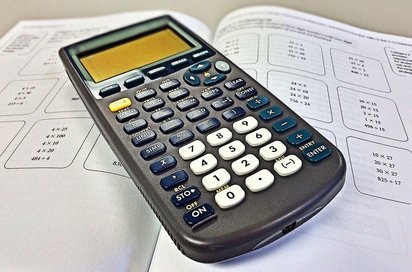
Basic rules for calculator use during tests:
If you decided a calculator can be used, it’s best to let it only be used on part of the exam. Make it a two part exam where the student does the first part without a calculator. Then once it is turned in, they receive their calculator and the second half of the exam. Also, as you know, graphing calculators have storage capabilities. Meaning that formulas and other information that is not allowed as a given for the test could be stored. So, either you will need to use your classroom set (which is cleared before a test) or make sure that all students clear their data before being able to take the exam. This will deter any cheating or passing of answers from one class to the next. However, I always have a rule in my own classes that if a student can write a program (on their own!) within their own graphing calculator to perform an operation, then they may use it. For example, I feel that if they can show me that they understood the quadratic formula well enough to create a program that can do it for them, then they should be all good to go with plugging in and using it, too! When and how you want to use a calculator in your classroom is always up to you. There are always going to benefits and drawbacks for using this tool when it comes to mathematics. Stick to your gut feeling on whether or not kids should be using a calculator at any specific time, and don't give in to whining! How do you use calculators in your class? We’d love to hear some more ideas about how you manage them in your classroom. For more ideas, strategies, tips, updates, and resources, enter your email to subscribe to Math Giraffe:
To Read Next:
7 Comments
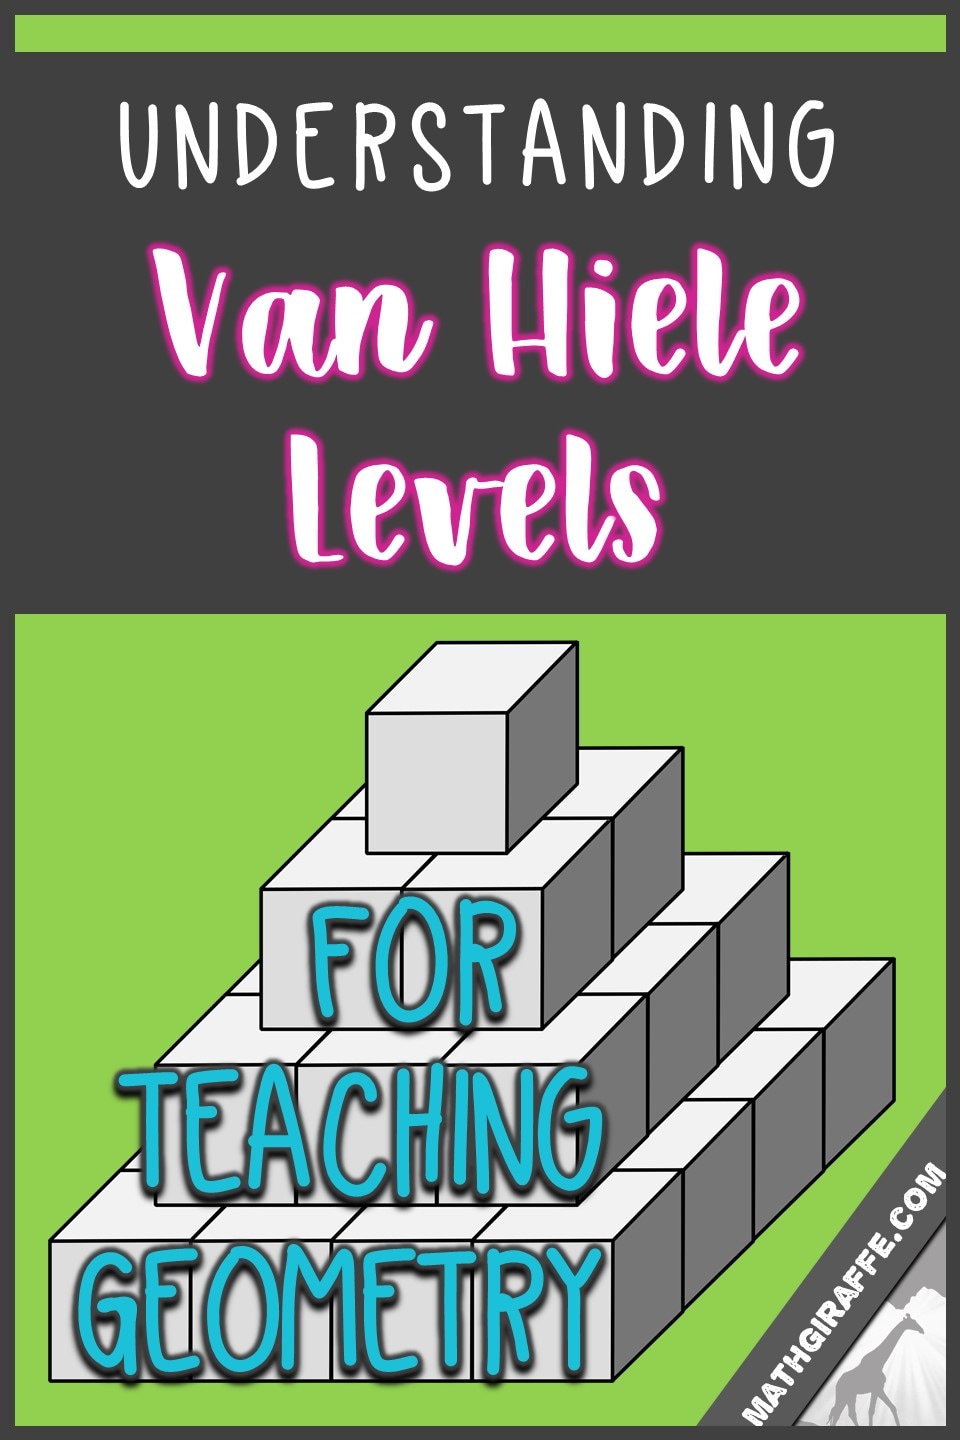
Something that a lot of our lesson plans are missing is an understanding of the Van Hiele levels and how it plays into understanding geometry concepts. Often when our older students aren’t grasping what we are teaching, it is simply because they aren’t ready for it.
When they were younger, they didn’t truly understand the first levels of learning. And this is where the Van Hiele Levels come into play. What are the Van Hiele Levels? This theory originated in 1957 by husband and wife team Dina Van Hiele-Geldof and Pierre van Hiele from the Utrecht University in the Netherlands. It helps to describe how students learn geometry. The Van Hiele levels have helped shaped curricula throughout the world, including a large influence in the standards of geometry in the US (source). How do they work? Geometric reasoning starts as soon as we can start processing information and in early schooling. However, depending on the individual, the ages in each stage can vary, especially as they progress through school. Basically the level is dependent on the experiences that each student has, no matter what their age. In Learning Mathematics in Elementary & Middle Schools, Cathcart, et al ”In general, most elementary school students are at levels 0 or 1; some middle school students are at level 2. State standards are written to begin the transition from levels 0 and 1 to level 2 as early as 5th grade “Students identify, describe, draw and classify properties of, and relationships between, plane and solid geometric figures.” (5th grade, standard 2 under Geometry and Measurement) This emphasis on relationships is magnified in the 6th and 7th grade standards.” (source) 
Level 0: Visualization
They can recognize shapes by their whole appearance, but not its exact properties. For example, students will think of a shape in terms of what it “looks like.” A rectangle is a door or a triangle is a clown’s hat. And the student may not be able to recognize the shape if it’s rotated to a different standing point. Level 1: Analysis (Description) Students start to learn and identify parts of figures as well as see figures in a class of shapes. They can describe a shape’s properties and are able to understand that shapes in a group have the same properties as well. A student in this level will know that parallelograms have opposite sides that are parallel and will be able to group them accordingly. Level 2: Informal Deduction / Abstraction A student in this level will start to recognize the relationship between properties of shapes. They will also be able to participate and understand informal deductive discussions about the shapes and their different characteristics. Level 3: Formal Deduction At this level students are able of more complex geometric concepts. They can think about properties are related, as well as relationships between axioms, theorems, postulates and definitions. According to John Van Del Walle, students should be able to “work with abstract statements about geometric properties and make conclusions more on logic than intuition.” Level 4: Rigor Finally, students will reach the last level of learning geometric reasoning. Even in the absence of concrete examples, they should be able to compare geometric results in different axiomatic systems. Basically, they will see geometry in the abstract. Mostly, this is the level of college mathematic majors and how they think about geometry. Some students may seamlessly pass through these stages, while others may be get a little left behind. And in the meantime, of course the curriculum keeps going, so without proper attention to the missing links or tutoring they won’t ever be able to full catch up with the lessons. You can dial in your student’s Van Hiele level understanding by including some extra activities in your classroom. Make sure to check out these ideas from NRICH.ORG.
To Read Next:
|
Archives
December 2023
Click to set custom HTML
|


 RSS Feed